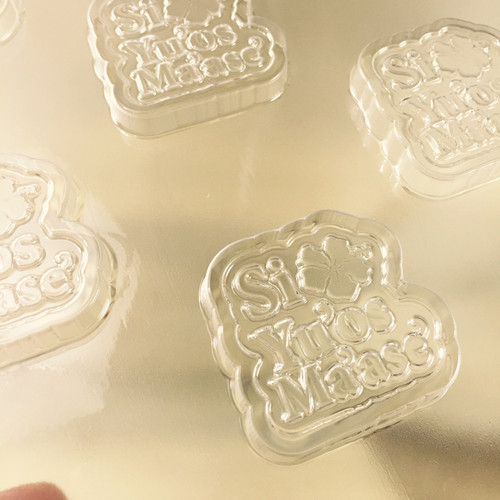
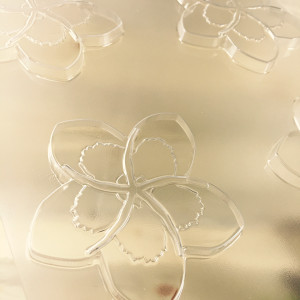
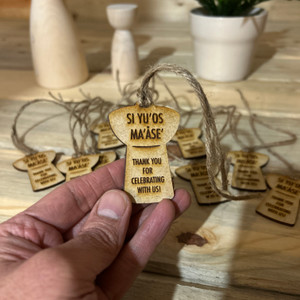
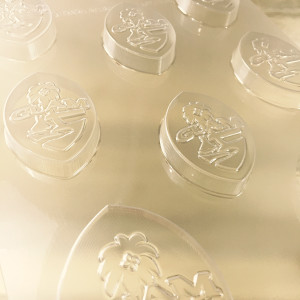
Buy our reusable flexible plastic mold to make your very own custom chocolates, gelatin, and butter. Use our mold to make chocolates for party favors, or for that special gift to someone. For your next Guam, CNMI, or Chamorro-themed party. Mold can also be used to make soaps, however, you must not use it for molding food. Use molds for food and non-food purposes seperately. Mark appropriately to ensure that molds used for non-food purposes remain used as such.
Product Information:
- Reusable mold - with proper care, handling, and cleaning, this product can provide years of use to make many types of molded food items described
-
Mold measures 7.25 X 9.5
- Individual cavity measures 1.75 wide x 1.6 tall x .25 thick
- Semi-rigid plastic mold (Not silicone)
-
8 cavities per mold
-
Suitable for gelatin, chocolate, and butter.
-
Do not use for hard candy or other hot ingredients greater than 120 degrees F
-
First-quality plastic mold, FDA approved
-
NOT DISHWASHER SAFE
Instruction on how to use this mold to make candy pieces:
Making Si Yu'os Ma'ase chocolate candy for your kids, for an upcoming party, as party favors, and as part of gift-baskets, and more is a very easy process. Your imagination is the most useful tool to make a variety of candy types. Caution: Chocolate used with these molds can be scalding hot. Use common-sense when asking children to help. Keep safety in mind at all times when working around a stove.
Ingredients You'll Need:
- Bags of candy pieces or morsels specifically for melting (most grocery stores carry them). Read the back of morsel (chocolate chip) labels as it will indicate whether their product is made for melting chocolate for candy pieces.
- Pieces or morsels can be white chocolate, dark chocolate, or a mixture of both for milk chocolate
- Added ingredients such as chopped nuts, raisins, dried coconut, gummies, and peppermint pieces
- Glass Bowl
- Double Boiler (Microwave as an option)
- Mixing Spatula
Step 1:
Melt your candy pieces or morsels on a stove top using a double boiler, or experiment by melting your pieces or morsels in a separate microwave safe bowl in your microwave for about 25 seconds. Melt morsels 2/3rds way through, and make the residual heat melt the rest of the chocolate pieces. Do not put your plastic mold in the mircrowave. Not microwave safe. Stir to create a consistency that is liquid. In a separate bowl, identify what added ingredients will be stirred into a specific mix to create a special chocolate candy. For example, chopped walnuts can be mixed to make chocolate walnuts. Remember, if adding ingredients like raisins or nuts, the design may be slightly distored because of these pieces that may fall to the bottom of the mold.
A solution for this is to pour your mold 1/3 of the way with chocolate only. Refrigerate to harden for a few minutes. Then add the chocolate as a second layer, with the added nuts or raisins.
Note: Some chocolate morsel packages have instructions on how to melt their candy and molding it. In this case, follow their instructions.
Step 2:
Touch the liquid chocolate with the back of your finger. It should not be hot. Rather, it should be room temperature at this point. Place melted candy in your mold using a spoon, melting bottle or disposable decorating bag. When mold is filled, lightly tap it several times on a counter to eliminate air bubbles in the candy. Note: Not all added ingredients to your chocolate can be dispensed in a bottle or decorating bag. Experiment with what works. The holes may be too small to allow some nuts, raisins, or other ingredients to dispense.
Step 3:
Place the filled mold in the refrigerator for about 15-20 minutes or freezer for half the time, until candy has set. When the underside of the candy mold appears to be frosted, you're ready to unmold the candy. If there are any dark areas on the underside of the mold, it means some of the coating is still soft. In this case, chill the mold for a few more minutes, until the entire mold has a frosted appearance.
Step 4:
Unmold. Turn over the mold about an inch above a flat surface covered with parchment or waxed paper. Gently flex or tap the mold and out come the candies!
Special note: The above process is for use with grocery store bought chocolate pieces. Cacao pieces, the more premium type of chocolate goes through a different preparation process called tempering. If you plan to use more premium chocolate pieces, click the video below to learn more of the process.
http://www.youtube.com/watch?v=nv3ywLHgICc
These steps above are for chocolate, however, you can experiment using these molds to make custom designed butter or gelatin. Only hand-wash your mold. Do not place this mold in the dishwasher. Heat in dishwasher WILL deform mold.
*******
Gerard's preparation tip: Using Ghirardelli melting wafers in dark and white chocolate is an easy way to achieve beautiful chocolate pieces. This product doesn't need tempering, can be microwaved in order to melt it, and will set to a nice sheen allowing for perfect chocolates for gift-giving and party favors.


